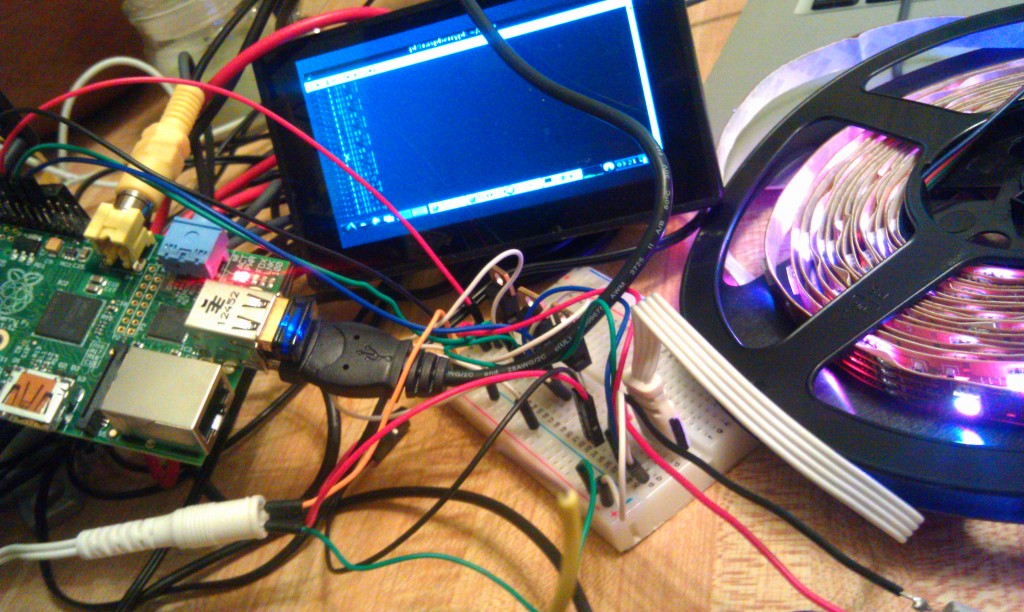
I got a RaspberryPi at PyCon and I had a LED light strip laying around. I wanted to see if I could make the two play nice together. The GPIO pins on the Pi can talk pulse width modulation (PWM) and so did the LED light strip I had, so I figured I could get the two to talk. I found this really awesome tutorial that walked me through the process. The gist of the tutorial is that you use low current signals from the RaspberryPi to control high current signals coming from some wires plugged into an AC adapter (in this case a 12V/1A switchable AC adapter I picked up at Radio Shack). You do this by using a Darlington transistor, specifically a TIP120 transistor, which you can pick up at your local Radio Shack for $1.69. The transistor is basically a voltage controlled current source. To control the transistors you use the ServoBlaster C library. This library basically does the PWM and tells the RaspberryPi to set a particular pin high or low. You call the ServoBlaster module via the command line. The author of the original tutorial uses a swell little python script to repeatedly make command line calls and then sleep the python program.
You can see the results below. The track playing in the background is Marijuana by Chrome Sparks.
The next step is to use SimpleCV to acquire images from a USB camera and peg the LED colors to the average image color. I would also like to use a few buttons to start and stop the lights as well as some MP3s (think instant dance party).
If you are curious I am using a $25 LCD for the screen of the RaspberryPi. It didn’t come with an AC Adapter or a composite video cable so I had to buy those separate. I also picked up a USB wireless card and a powered USB hub which come in really handy. I was really pleased when the wireless card worked out of the box with the Raspbian OS Wheezy release. My mini panvice is great for holding the pi. I also picked up a set of male/female jumper cables that made wiring everything a snap.


